Proxmox – Dell Optiplex 9020
Proxmox is a type 1 hypervisor, and a great choice for me in my homelab. My primary homelab server is currently running VMware ESXi, but is getting close to end of life. I plan to play around with Proxmox on an older Dell Optiplex 9020 mid tower system, and once comfortable with it, I plan to purchase a new server to run Proxmox.
In this article I will walk through downloading and installing Proxmox VE on a Dell OptiPlex 9020. I’ll also walk through setting up the first VM, which I’ll be using POP OS.
Start by downloading Proxmox VE ISO Installer from the link below. At the time of writing it is version 7.4.
https://www.proxmox.com/en/downloads/category/iso-images-pve
Find a USB stick that is at least 4GB. Use your preferred imaging software. In my case I used BalenaEtcher, which you can get from this link: https://etcher.balena.io/. Flash the ISO using BalenaEtcher to your USB stick, then eject it from your system when complete.
I Inserted the USB stick into the Dell Optiplex, and powered it on, while hitting F12 to get to the boot menu. I noticed I couldn’t boot to the USB stick, so I entered the BIOS instead, and turned off Secure Boot, and turned on Legacy Mode. I then saved the BIOS settings, and restarted. I then entered the boot menu again by pressing F12, then selected my USB stick.
The Proxmox install is quick and easy. Simply follow the prompts to complete the installation. Keep in mind you will need to enter a static IP address for the system, so check your router for an available IP outside of the DHCP range. Once the install finishes, you will be brought to the login prompt. At this point you can unhook your keyboard, mouse, and monitor, and run the system headless.
You can access the Proxmox VE web interface via the IP address you specified during the install, with port 8006. For me it is “192.168.0.7:8006”. Login with “root”, and the password you entered during the installation. Every time you login, you will get a message saying you don’t have a valid subscription, which is okay, and is not needed. If you are using Proxmox for a business environment, and want support, you can consider getting a subscription.
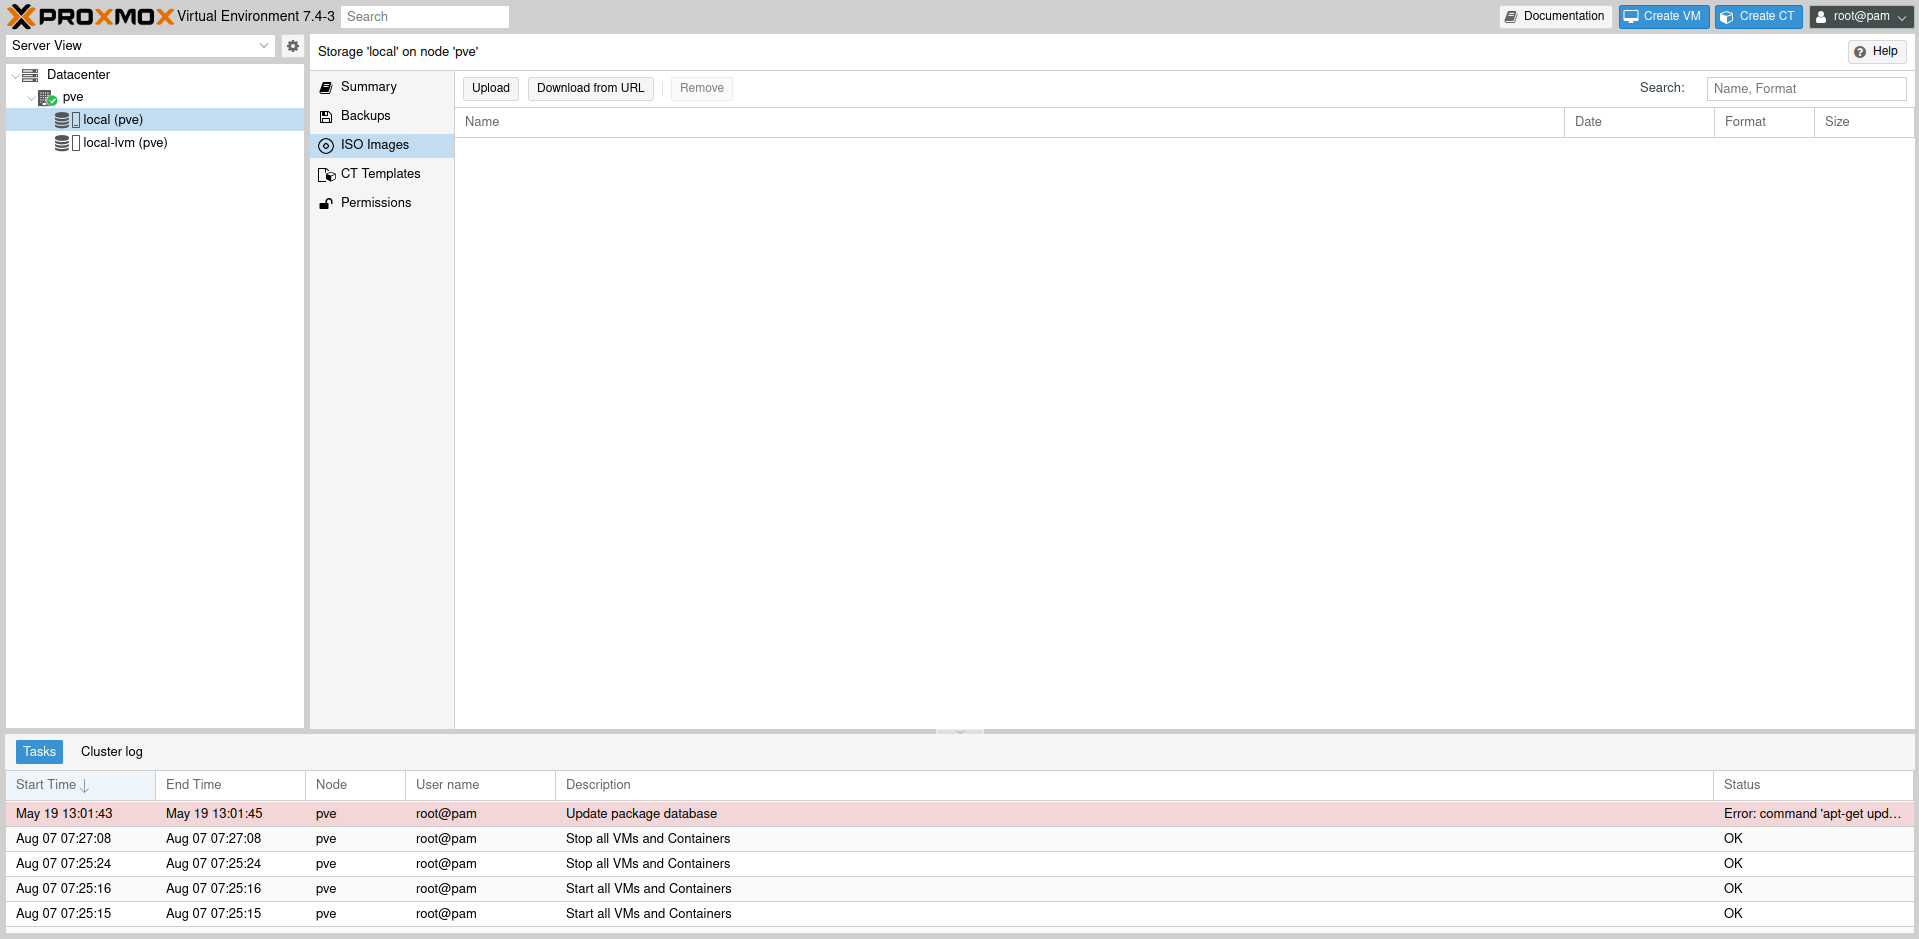
Before you can create a VM, you’ll first need to upload an ISO. From the dashboard, select the arrow beside your host to expand. Select ISO Images, then select the ISO and hit upload. It will tell you when the task is complete, then close the window.
Installing the first VM
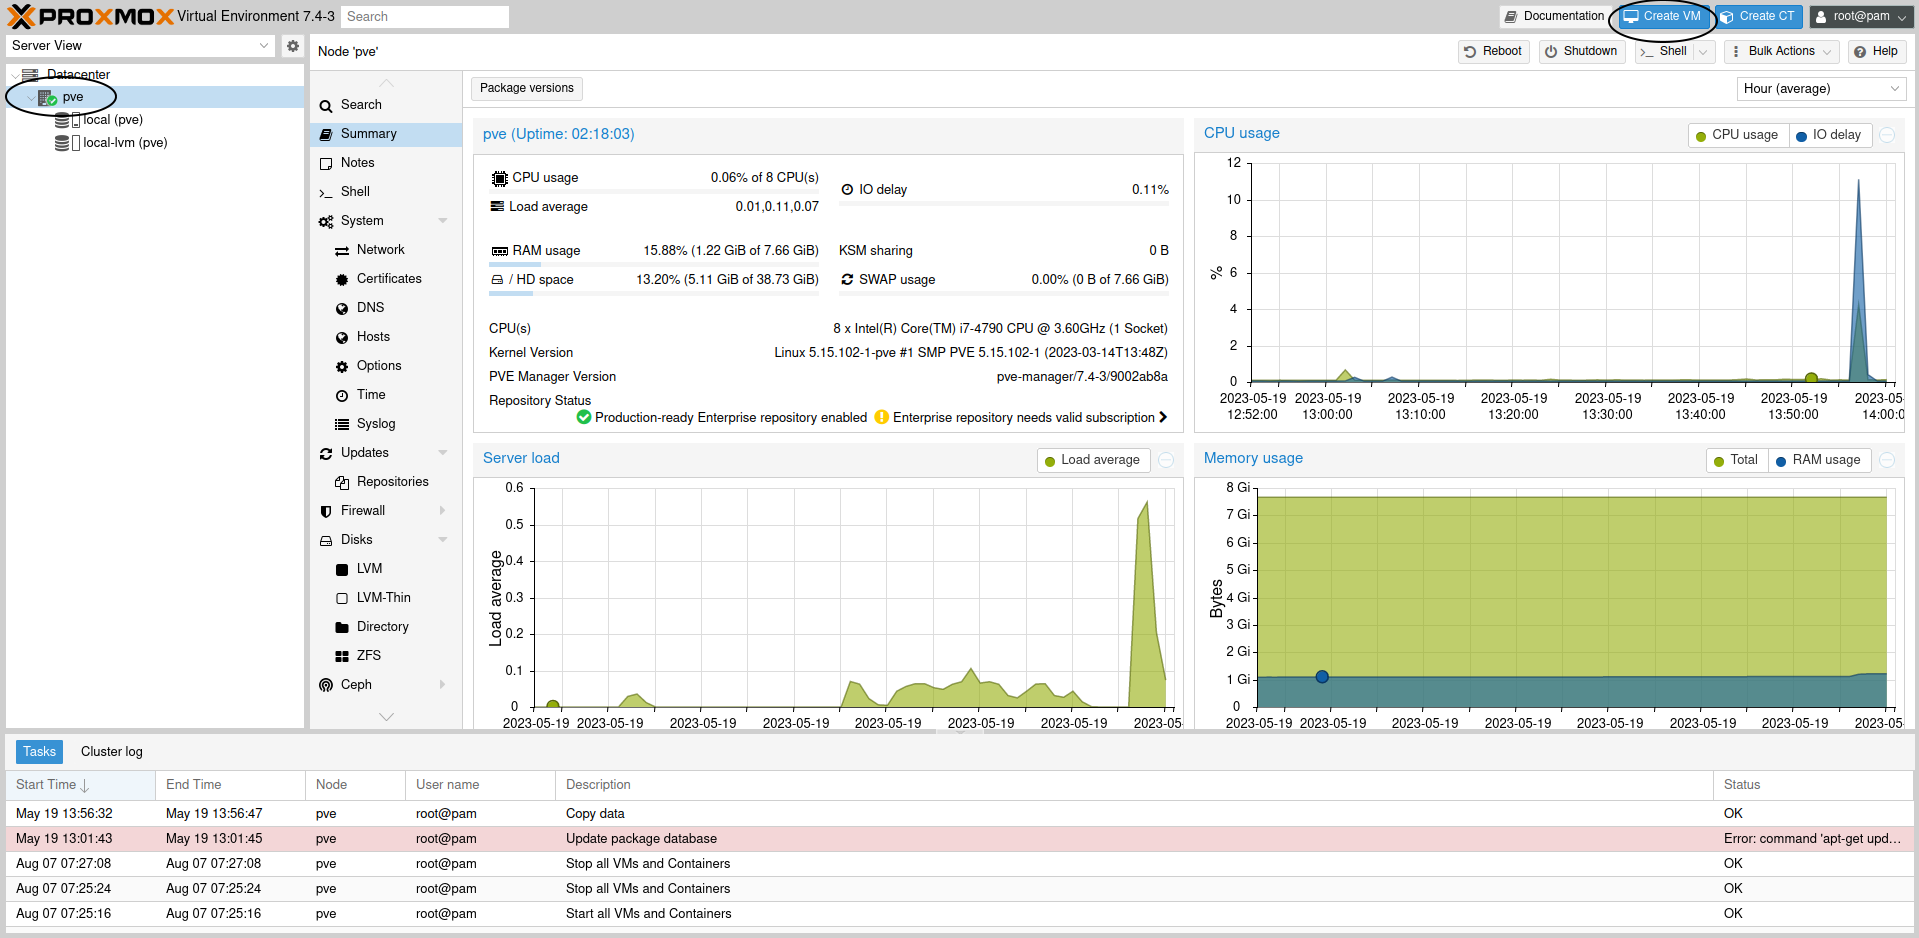
As per the image below, select your host, then Create VM.
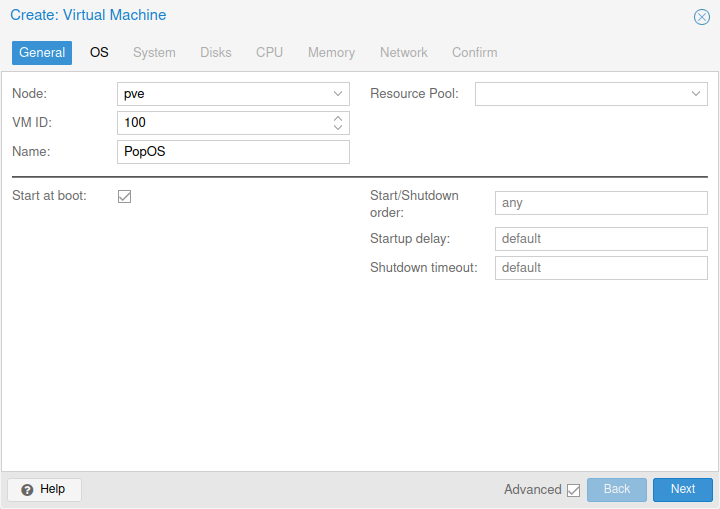
On the General tab, select Advanced, Start at Boot, and give your VM a name. Select Next.
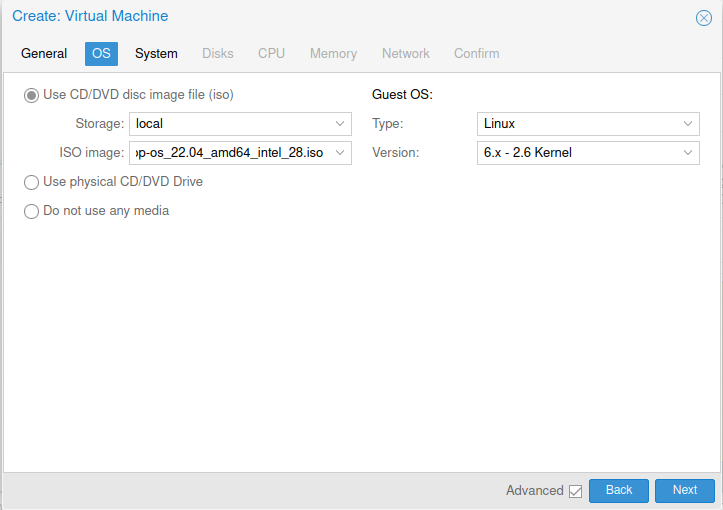
On the OS tab, select your ISO image you want to install. Select Next.
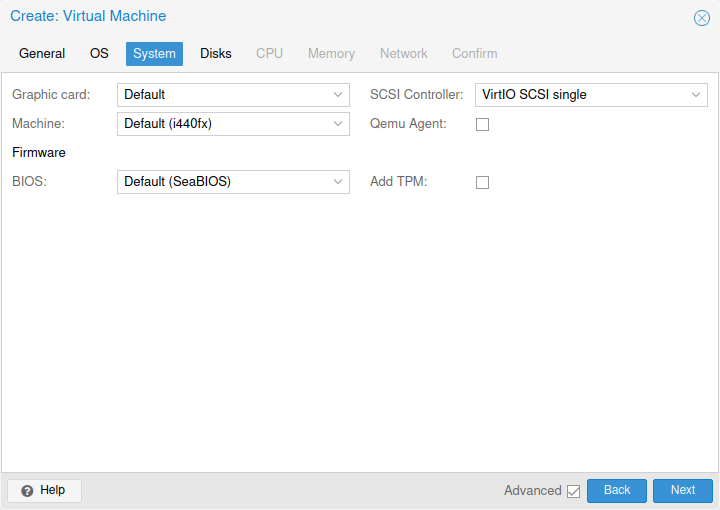
On the System tab, keep the default settings. Select Next.
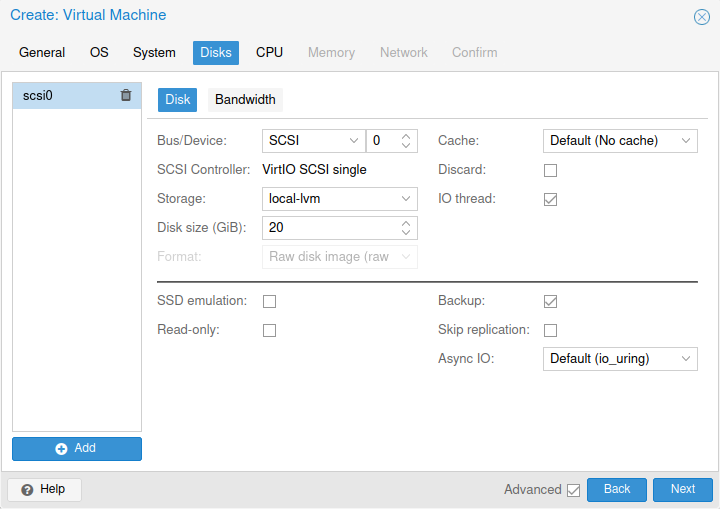
On the Disks tab, enter your desired disk size. Select Next.
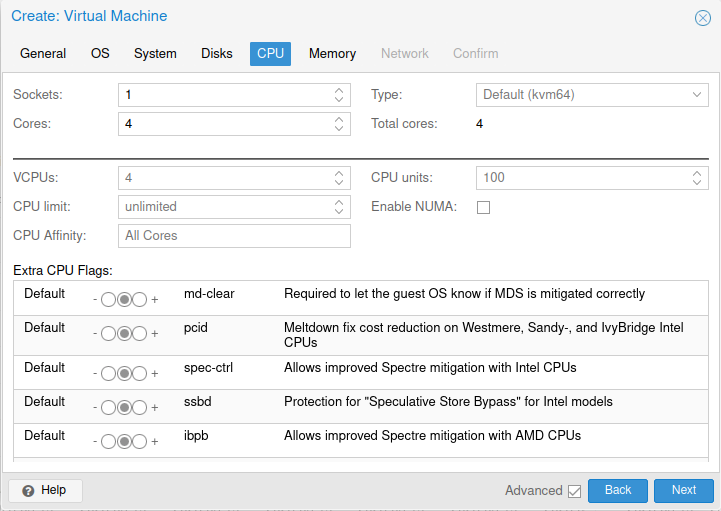
On the CPU tab, change the Core count to your desired amount. Select Next.
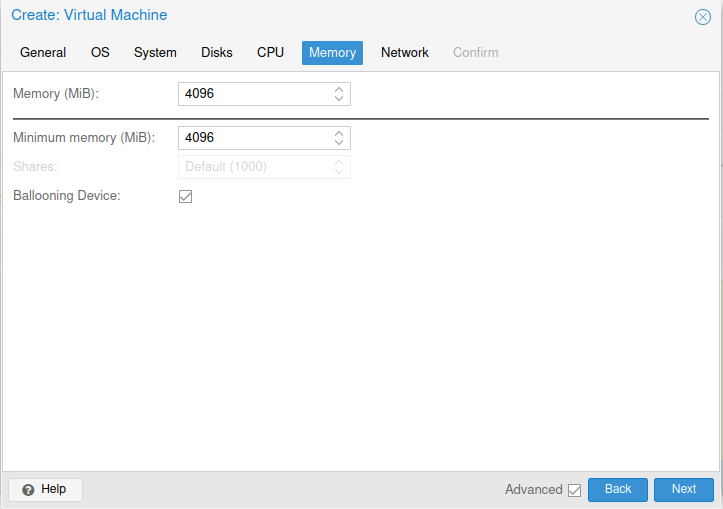
On the Memory tab, enter your desired memory amount. Select Next.
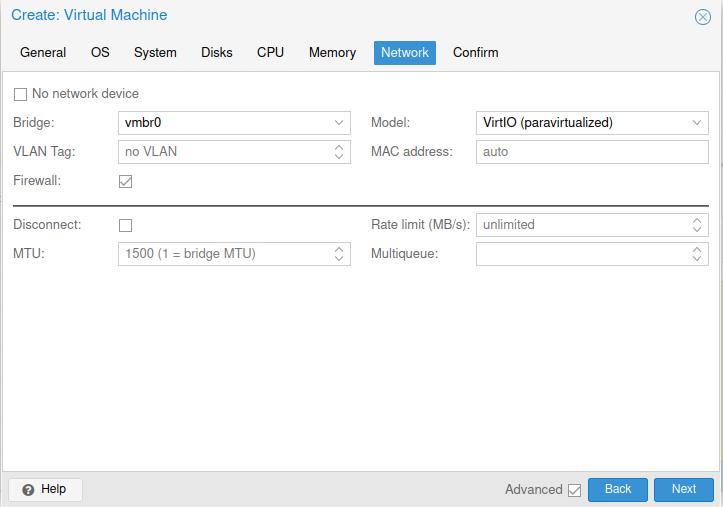
On the Network Tab, keep the default settings. Select Next.
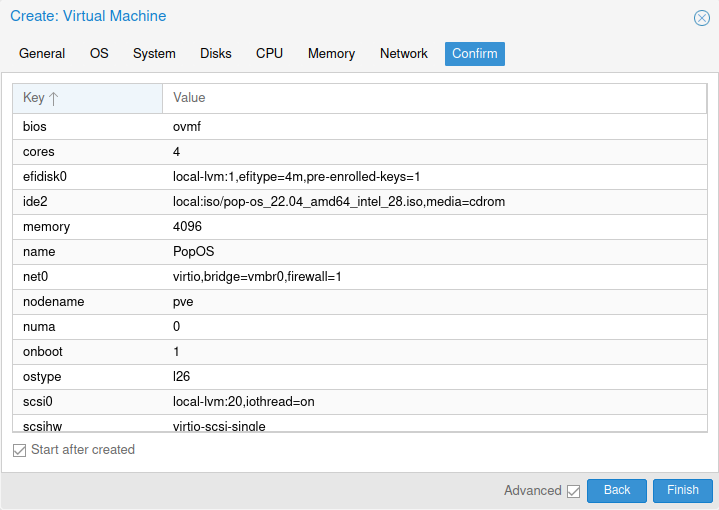
On the Confirm tab, select Start after created. Select Finish.
To start configuring your VM operating system, select your VM, then select Console. From here you can start your OS setup.
I won’t be walking you through the setup of POP OS, as you can use what you’d like, but this will get you going in Proxmox.
Have fun setting up VM’s!